 |
 |


When the time finally came to replace the bed set, i realized it was my opportunity to bring a little glamour into our home. I loved the look and feel of hotel room beds. Although it is no Sheraton (don't they have the best beds?!), I wanted our guests (mostly my in-laws) to feel like they were staying in a welcoming retreat.
My dream was to incorporate BOTH design elements into the room - nailhead trim and tufting. Yes, it was a lofty goal considering it was my first stab at both techniques. After reading the tutorial on Apartment Therapy I decided to ditch the trim (for now) and attempt the tufting.
I had the fabric from an abandoned project, but I had to purchase the rest of the materials. I won't go into the details, because the tutorial did a great job, but it was a pretty simple project. The hardest part was attached the buttons to the board for the "tufted look". The tutorial says to use a long needle to push the thread through the foam and predrilled holes in the board and then go back through the same hole in the opposite direction. It is near impossible to hit the hole after pushing it through 2" of foam! So I tied the string to the button, pushed the thread through the covered board and pulled TIGHT. Because you are pulling the button so tight, it helps to have 2 people (I just did it myself, but it was a pain). I attached the end to a small button and stapled over the string using the small button to hold the covered button into position. Does that make sense? This process was also the longest part of the whole project. I think I spread it over
2 days...
I also used a french cleat (I think that's the name) to hang it on the wall. I got a 20" cleat from Hobby Lobby for about $14. The headboard is very light, so the cleat's weight rating was more than enough for the weight.


Overall the project was quick and very rewarding!
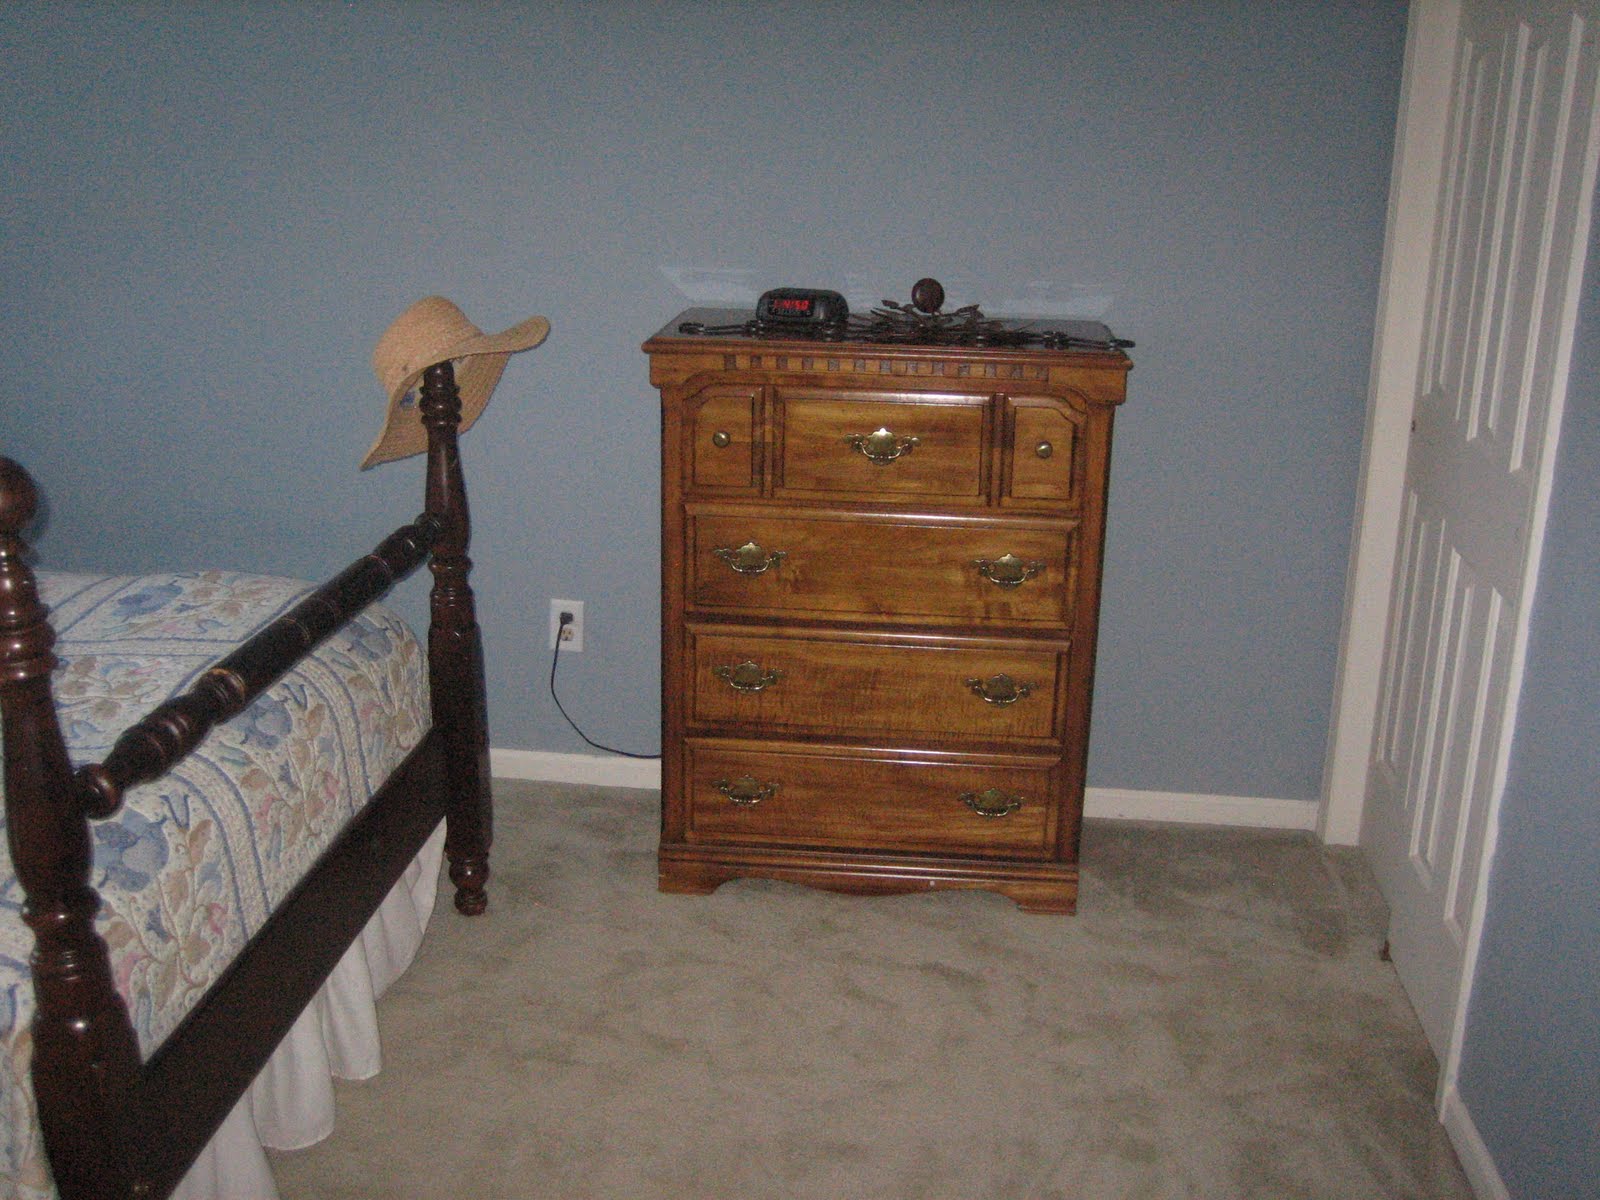
lol love how the hat is dangling on the bed post... almost as it it was a planned piece of decor...hmm i bet it was! Oh and LOL-ed on the "misfit decor" comment...clever!
ReplyDeleteI must say, your new guest room is such a beautiful improvement! I am still so impressed by that headboard! Now I just need an opportunity to sleep over :)
ReplyDelete